You should now have a better idea of how to navigate layers and work with your basic shapes and pen tools, so at this point, you can begin to trace over a mock-up on another layer.
In this example, File ➤ Open the file project light_bulb_trace_start.ai. Make a copy of the file with your initials if you want to follow along. This is a similar file to the one you saw and started in Chapter 5. Refer to Figure 8-26.
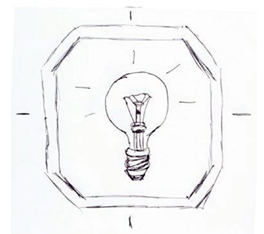
Figure 8-26. Mock-up of light bulb sketch
Make sure to also refer to your Window ➤ Links panel if you are getting any warning messages about a missing image and you may need to relink. If required to relink then locate the file Mockup_Sketch.jpg.
The layers have been arranged, and you can see three layers in the Layers panel. The lower one is the placed graphic and that layer is locked, and the other layers are blank which we will use for basic tracing. I have changed their names. Refer to Figure 8-27.
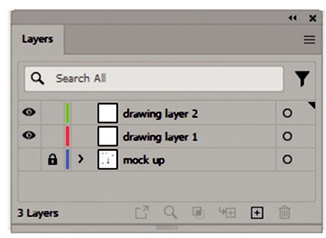
Figure 8-27. Layout of multiple layers in the Layers panel
In the Properties panel Preferences, make sure that Scale Stroke & Effects is turned off before you start to draw. Also make sure that your View ➤ Rulers ➤ Show Rulers and View ➤ Smart Guides are on. Refer to Figure 8-28.
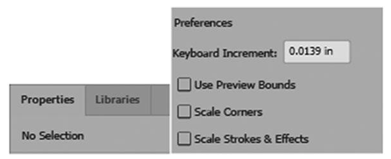
Figure 8-28. Use the Properties panel to uncheck Scale Strokes & Effects when no selection is made
An easier way to trace over an image is to set the pen or basic shape to a fill of none with a stroke in the Control panel. You do not want the fill to cover the drawing as you trace over it. Refer to Figure 8-29.
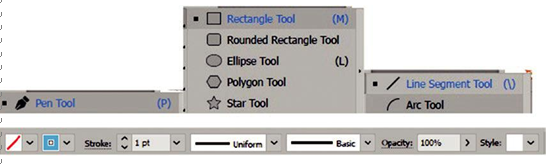
Figure 8-29. Various pen, shape, and line tools you can use to edit your paths while using the Control panel
Set the stroke color in the Control panel before you start drawing. I usually make it into a bright blue cyan color and about 1pt or 0.5pt stroke so that it is very thin so that I can see part of my initial drawing underneath. Do this now. You can always change and adjust the stroke color weight or fill color as you will see later on.
At this point, depending on the sketch on the locked lower “mock-up layer,” now start working on “drawing layer 1.” Begin to trace out parts of the drawing with either the Pen tool or use a combination of basic shapes as we looked in the earlier chapter. You will notice that many of today’s logos or components of an infographic have parts of the design that are rounded and simplified. Refer to Figure 8-30.
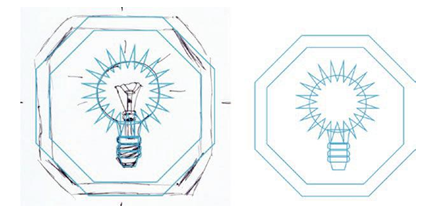
Figure 8-30. Tracing your logo over the mock-up sketch